
There’s no doubt about it; microwaves make our lives a lot more convenient. If you’ve ever lived without one or your microwave suddenly broke down, you’d understand how much of an inconvenience it is to go back to heating up food on your gas stove. This is why cleaning and maintaining a microwave is important to prolong its life and keep it running efficiently.
If you open your microwave door and find hardened food bits, greasy stains and food spills covering the interiors, a deep cleanse is long overdue!
While cleaning your microwave daily is easy, doing a deep cleanse requires more effort and time, but it’s definitely necessary. Read on for a step-by-step guide to getting your dirty microwave gleaming.
We’re using window cleaner as our core cleaning product as it does a fine job at turning a soiled microwave into one that looks new and shiny again!
Step One
In order to not waste any window cleaner, start by making a small amount of cleaning solution that combines one part lukewarm-hot water and two parts cleaner. Mix it well in a bowl and keep it aside. If you find that the water has gotten too dirty during the cleaning process, throw it away and make a fresh cleaning solution.
Step Two
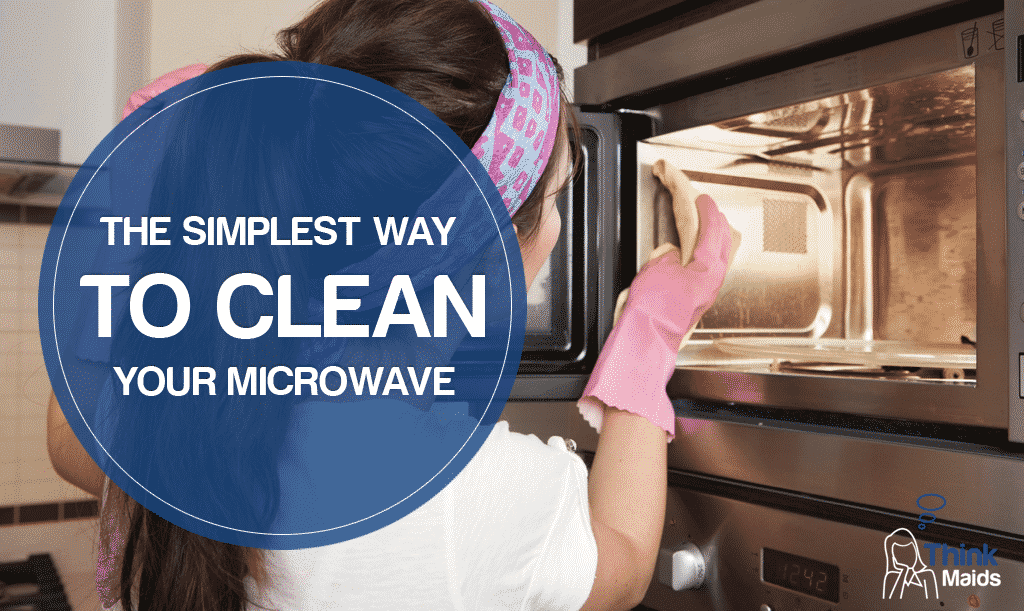
Take out the turntable and allow it to soak in the sink while you clean the interiors so that it is easier to wash up later. Now, for the messy job (you might want to wear a pair of kitchen gloves for this). Using a non-abrasive sponge or microfiber cloth, dip your chosen cleaning aid in the solution and wipe the ceiling first. The heat from the water will help loosen any hardened food residue. After cleaning the ceiling, do the sides, the inside of the door and leave the base for last as this is where all the dirt and grime will collect. Remember to rinse out the sponge/cloth as and when needed so that you aren’t transferring any dirt back onto the cleaned spots.
Step Three
Once you’ve finished removing the grease, stains and hardened food gunk, take a clean, damp cloth and wipe your microwave’s interiors properly. Don’t leave out corners when you’re doing this; the objective here is to rinse out the window cleaner thoroughly. Leave the door open for the smell to air out completely.
Step Four and Five
Now would be a good time to wash your turntable under running water and leave it to dry. Lastly, you’ll need to clean the exteriors of your microwave which can also get quite greasy and stained overtime. This is the easy bit; simply spray the exteriors (handle included) with glass cleaner and wipe it clean with a microfiber cloth. For added shine, pour a little vinegar onto a clean, dry cloth and buff the interiors and exteriors of your microwave. Put in the turntable once it’s dry and voila! Your microwave is now fresh as a daisy!
These helpful tips come straight from Moplovers, where they also share tips on how to take care of other stainless steel appliances.